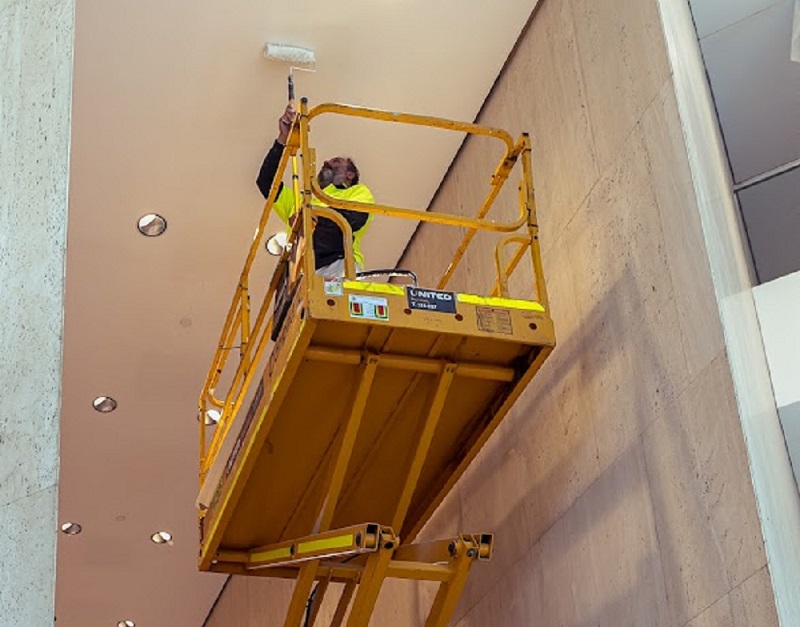
Roller painting your ceiling? Select the right roller for the job.
Choosing the correct paint roller for ceilings is the first step in making sure your DIY roller painting project looks as professional as possible. This selection, along with good technique and proper preparation of the room, are essential to get right from the start.

Choose the best paint roller for ceilings
Most importantly, you’ll need to select the correct ‘nap’ – or fabric thickness – for the job.
Rollers come in a variety of nap thickness options, with very thin (4-5mm) options best for smooth surfaces and the thickest options (20mm) reserved for heavily textured ones.
Most DIY roller painting projects require a roller with a 12mm nap. This will enable you to distribute paint evenly across the surface and cover a decent area before needing to pause to reload the roller with paint.
As the 12mm nap holds more paint than the thinner roller options, with the correct technique you should be able to achieve an attractive finish without paint dripping down onto the floor – or yourself!
Paint roller cover materials
There are a variety of paint roller cover materials to choose from, depending on the nature of your project.
Natural or synthetic fibres
Either of these versatile options can work well on both smooth and roughly textured surfaces. They work best with water-based latex paints.
Foam rollers
Better suited to specialist jobs such as high-gloss or oil-based paints, you might choose a foam roller if you are painting directly onto cement, brick, wood or any other porous surface.
How to prep a room for ceiling painting
Once you’ve got your tools and paint together, you’re probably keen to jump right in and start painting. Resist the urge – there is a bit of prep work you’ll need to do first.
Proper room preparation will help you to obtain a more professional finish, so don’t skip on this step.
Here’s what you’ll need to do:
- Wherever possible, clear the ceiling completely before you start, laying a drop sheet on the floor to guard against paint splatters.
- Remove cobwebs and wash your ceiling with sugar soap to ready the surface for painting.
- Use tape to protect cornices and light fittings. Cut in here first.
- Time to paint!
Looking for an unmistakably professional finish? For flawless ceiling paint, trust the master painters!
Call AJ Cochrane and Sons on (08) 9248 8211.
