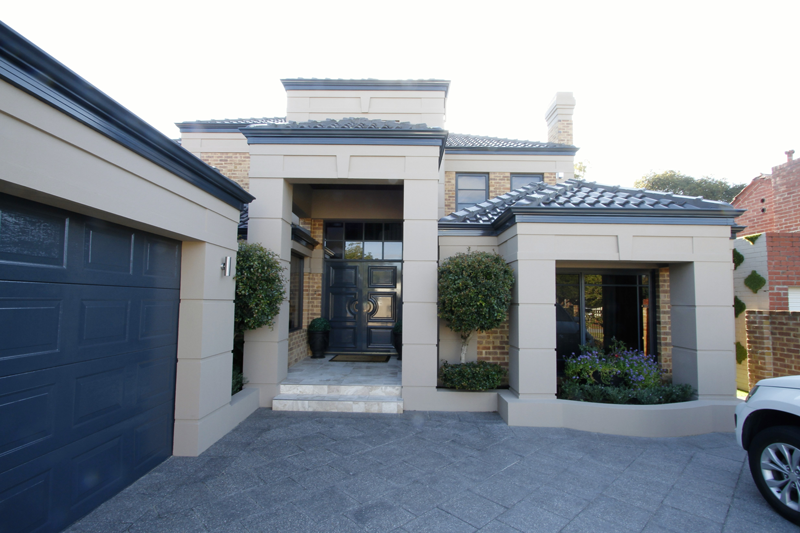
If the exterior of your home is looking a little unloved and in desperate need of a new coat of paint, don’t be daunted by the enormity of the job. It’s not as big as you think and you can get a sensational result and save yourself a lot of money with the right planning and preparation.
Here are three steps to the perfect exterior paint job:
STEP 1: PLANNING
Choose your season well: Living in Western Australia with so much lovely sunshine you could, in theory, paint at any time of the year. It is better to stay clear of winter, however. The best time to paint the exterior of a house is when there is no rain or chance of rain around and the humidity is reasonably low.
Curb appeal: Curb appeal is something we all want for our home so it’s best to stay away from dramatic colours including black, dark green, lime green and bright yellow. One the best ways to find out what you like and dislike is to drive or walk around your neighbourhood it is. If you’re still not sure, consult a colour specialist. It is better to be safe than sorry!
Quality over price: Given the exterior of your house is exposed to the elements, you don’t want to skimp on paint quality here. More expensive paint contains more pigment which makes it thicker and last longer. Prolonged tackiness is an indication of cheap paint and during high humidity the paint will be tacky for a long time, whereas good quality paint dries much quicker.
STEP 2: PREPARATION
Pressure wash walls/wash and scrub: Pressure cleaners are really the way to go. They are fast and you will get a very good result. You can scrub manually but do you really want to do a whole house? It is such hard work and hiring a pressure cleaner is so cheap. From experience do be careful when using a pressure cleaner on very old houses you can gouge rendered walls and soft wood fairly easily.
Repair damaged surfaces: You have cleaned the walls, now walk around your house and repair every hole, crack and dent you can find. The walls have to be completely dry before you start repairing. Once dry, sand the surface smooth. Paint will not stick to rotten wood so remove and replace where necessary. Patching and repairing is time-consuming but it’s necessary to have a smooth even finish for your primer and paint to adhere to.
STEP 3: PAINTING
Primer: Always use a good quality primer/sealer that has high resin content A quality sealer can be used over old paint or as a primer for your top coats. One of the tips the professionals use, is a tinted primer, if you can see the colour coming through you need more paint
Paint from top to bottom: Commence painting at the top and move your way down. You will have more control over streaks. It won’t stop the drips but you are working with gravity versus against it.
Paint in the shade: It is much easier to apply paint when you are in a shaded area, if you are in full sun it can cause paint to dry too quickly making the application more difficult, than it needs to be.
Don’t forget your plants: Plants can overheat if covered by plastic sheets. Pull plants away from the house where possible and use material drop cloths.
More reading:
- http://www.popularmechanics.com/home/outdoor-projects/how-to/g842/7-smart-tips-for-painting-your-house/
- http://www.haymespaint.com.au/info-centre/outdoor-painting-tips/
- http://www.familyhandyman.com/painting/techniques/exterior-painting-tips-and-techniques/view-all
- http://www.hgtv.com/design/decorating/design-101/how-to-paint-the-exterior-of-a-house
- http://www.diynetwork.com/how-to/skills-and-know-how/painting/10-things-you-must-know-when-painting-a-house-exterior-pictures
- http://www.hgtv.com/design/decorating/design-101/how-to-paint-the-exterior-of-a-house
- http://www.sherwin-williams.com/homeowners/ask-sherwin-williams/painting/exterior-painting-how-tos/exterior-planning/
- http://www.thisoldhouse.com/toh/photos/0,,20180479,00.html
- http://www.diynetwork.com/how-to/skills-and-know-how/painting/10-things-you-must-know-when-painting-a-house-exterior-pictures
